Do you need to record your computer screen and demonstrate your product to your clients? Are you looking to create a how-to video to help people resolve their computing issues? Or maybe, you’re looking to record your online class to share it with your best buddies who couldn’t attend it? Nevertheless, you will need a screen recorder software.
Windows Snipping Tool
Windows Snipping Tool is a freeware photo and video capture software that comes pre-installed on all Windows computers starting from Windows Vista. It has been actively developed by Microsoft, and comes with flexible screen recording options.
Capture Area
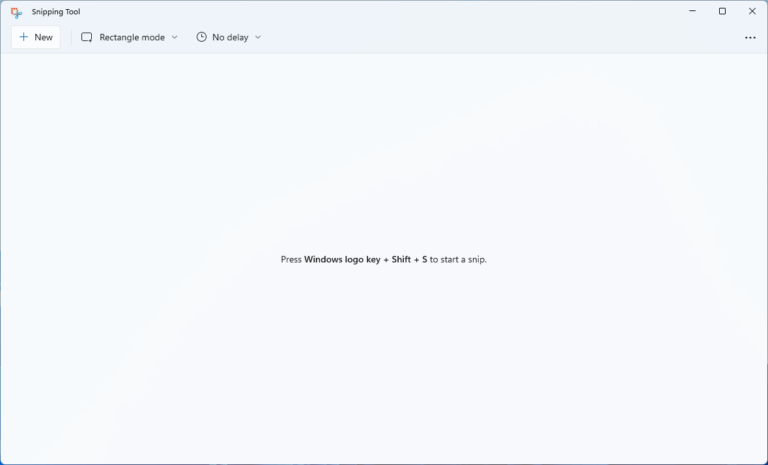
Snipping Tool enables users to capture their entire screen, active window, or free-form selection where you select a specific region of your screen using your mouse. If you’re looking to record your online class, it makes sense to only capture the active webinar window. If you’re looking to create a how-to-video demonstration, you’ll want to capture the entire screen.
Delay Timer
Much like any other screen capturing software, Snipping Tool lets you set a delay timer before capturing an image screenshot or starting your screen record. You can choose a delay of a few seconds before the automated screenshot or video capture begins.
Shortcut Keys
You can take screenshots of your screen or record videos using various keyboard shortcuts. For example: Use Alt + PrintScreen to instantly capture a screenshot of your active window. You may save your screenshot to a file, copy it to the Clipboard, or post-process it by adding annotations, highlights, etc.
User Friendly Interface
Snipping Tool has a friendly interface with no complex menus. You can kick off by clicking one of the capture icons on the toolbar.
Post-Processing
After recording your screen, you can add annotations, free-form drawings, or highlight specific regions, with in-house annotations tools. There’s no need to download a special video editor software.
Sharing Tools
Now that you’ve recorded your screen, you may also want to share it with others. Thankfully, Snipping Tool makes it easier to share them via email or cloud.
Where Does Snipping Tool Saves My Recorded Videos & Screenshots?
Video Recordings
The video recordings of your screen are saved in the Videos sub-folder in the User’s folder. You can also change the default directory from the program settings.
C:\Users\UserName\Videos
Image Screenshots
If your computer is connected to OneDrive, your Snipping Tool screenshots are automatically backed-up to the OneDrive and can be accessed through the following location:
C:\Users\UserName\OneDrive\Pictures\Screenshots
If you’re not using OneDrive, your screenshots are stored in the following folder:
C:\Users\UserName\Pictures\Screenshots
Find & Remove Duplicate Video Recordings & Screenshots
If you’re using Snipping Tool more often, it is possible that there may be duplicate video recordings and screenshots. Or, you might have duplicated some videos and screenshots for editing or backup purpose, and you no longer need them today. You can delete such unwanted video recordings and screenshots to free-up your storage.
Method 1: Using File Explorer
- Open your Videos folder: C:\Users\UserName\Videos
- Right-click on an empty area, and select Sort by > Date.
- Also, make sure that the Ascending option is also selected.
- Your files will be listed in an ascending order. It will be easier to identify the duplicate versions.
Method 2: Using DupInOut Duplicate Finder
DupInOut Duplicate Finder helps you fight against duplication of your documents, videos, music, photos, among others. Here’s how to use it:
- Download and install DupInOut Duplicate Finder.
- In the New Search tab, click on Add.
- Select your Videos folder: C:\Users\UserName\Videos
- Click on Add again, and select your OneDrive Screenshots folder (C:\Users\UserName\OneDrive\Pictures\Screenshots) or local Screenshots folder (C:\Users\UserName\Pictures\Screenshots).
- Click on the Start Search button.
- Once the scan is completed, a Duplicates Report will appear.
- Click on the Review & Fix button.
- In the Review & Fix tab, you’ll get a list of all duplicate files.
- Manually select the ones you don’t need, or use the Selection Assistant button.
- Finally, click on Select Action, and delete your marked files.